$ cd $WILDFLY_HOME
$ unzip keycloak-saml-wildfly-adapter-dist-${version}.zipSAML Based Security For OData Using KeyCloak
This document will provide detailed instructions to enable SAML authentication on Teiid’s OData interface using the Keycloak as authentication server (IDP). SAML is standard, so the modified OData WAR should work fine with any other compatible SAML Authorization server, however the configuration may be little different. Please consult their documentation for any such specifics of different authorization server other then KeyCloak.
This examples will show case an example, where Teiid’s OData rest interface is secured using SAML using Keycloak as IDP. The VDB accessed by the OData interface, the pass-through of SAML Assertion for OAuth token (SAML Bearer) is not yet available in KeyCloak, when the feature is available then Teiid will support it. However, if you are working with a IDP that supports the SAML Bearer, Teiid does support the mechanism where one can pass the "access-token" from web layer to the data source layer. See the OAuth example as template and possible configuration needed. (note it is not exactly same, but very similar)
Tested with Keycloak 3.1.0.Final version.
Download and install Keycloak as a separate web server.
-
Login using the default "admin/admin" credentials into the Keycloak "master" realm.
-
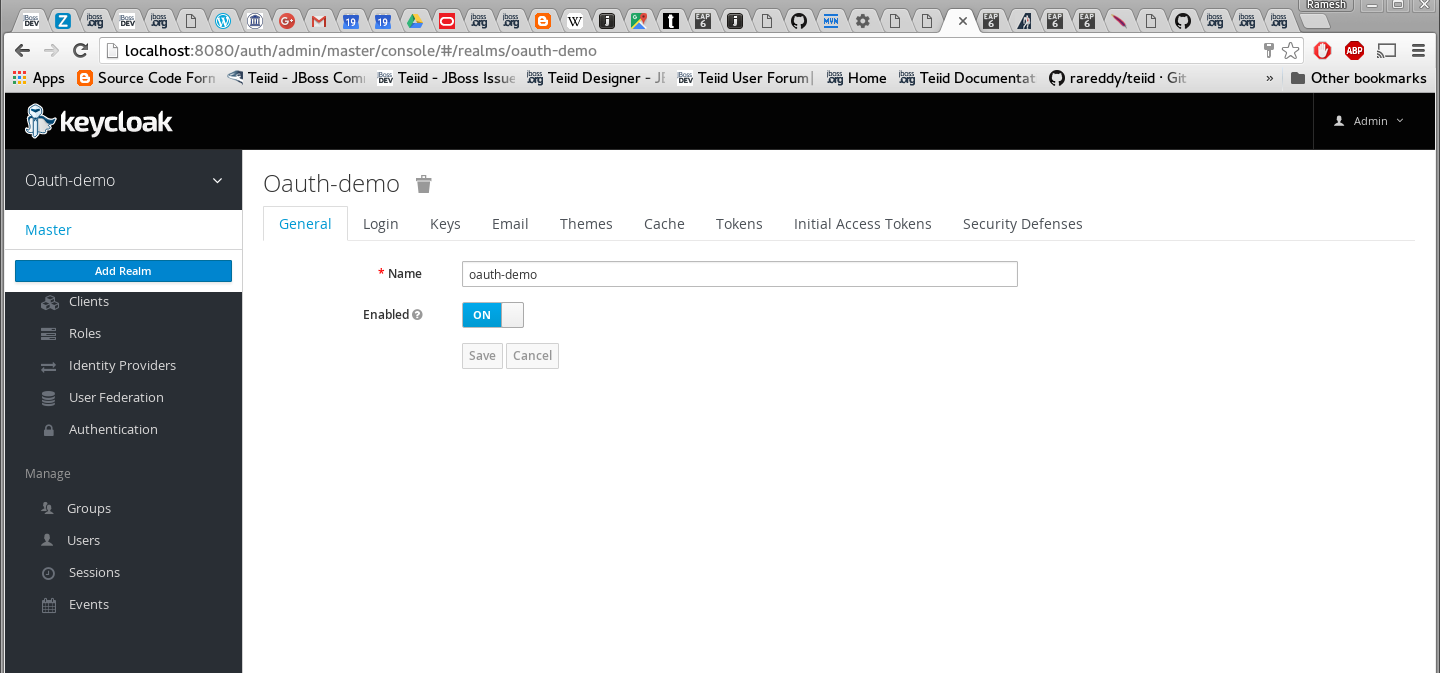
Add a new realm called "oauth-demo"
-
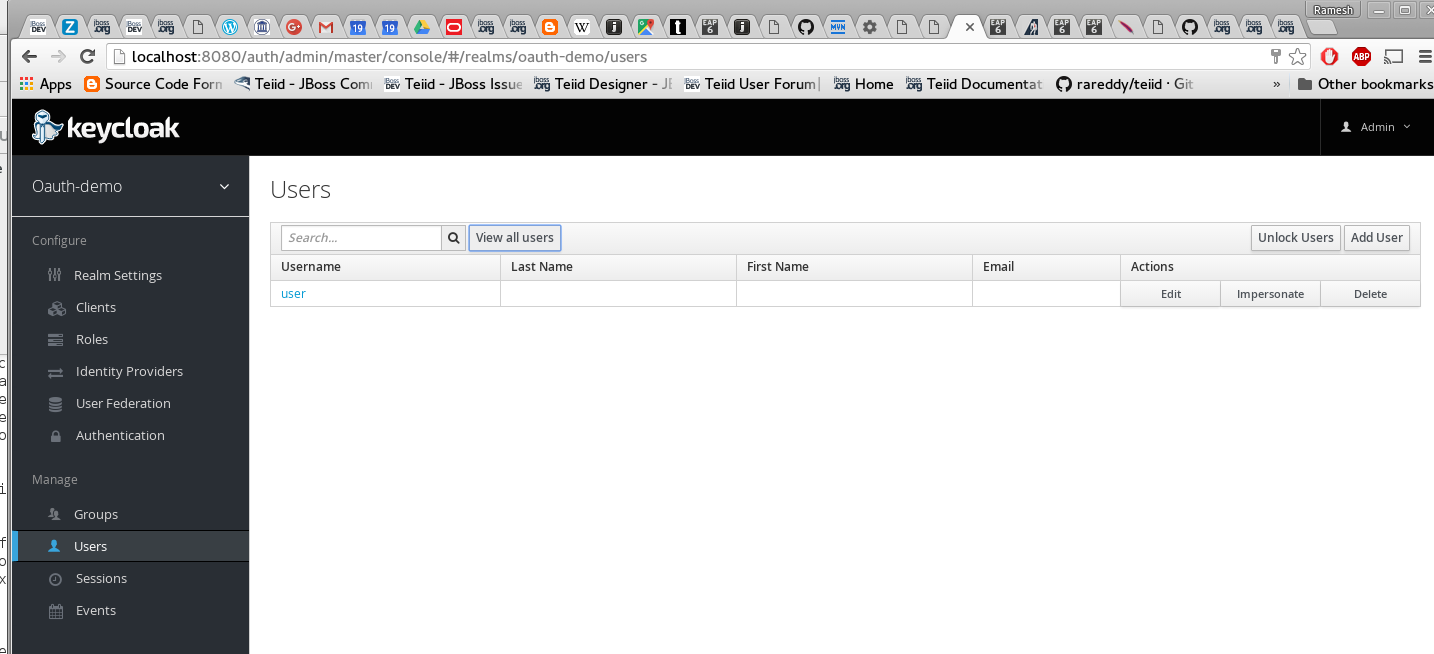
Add a new user called "user" and add credentials.
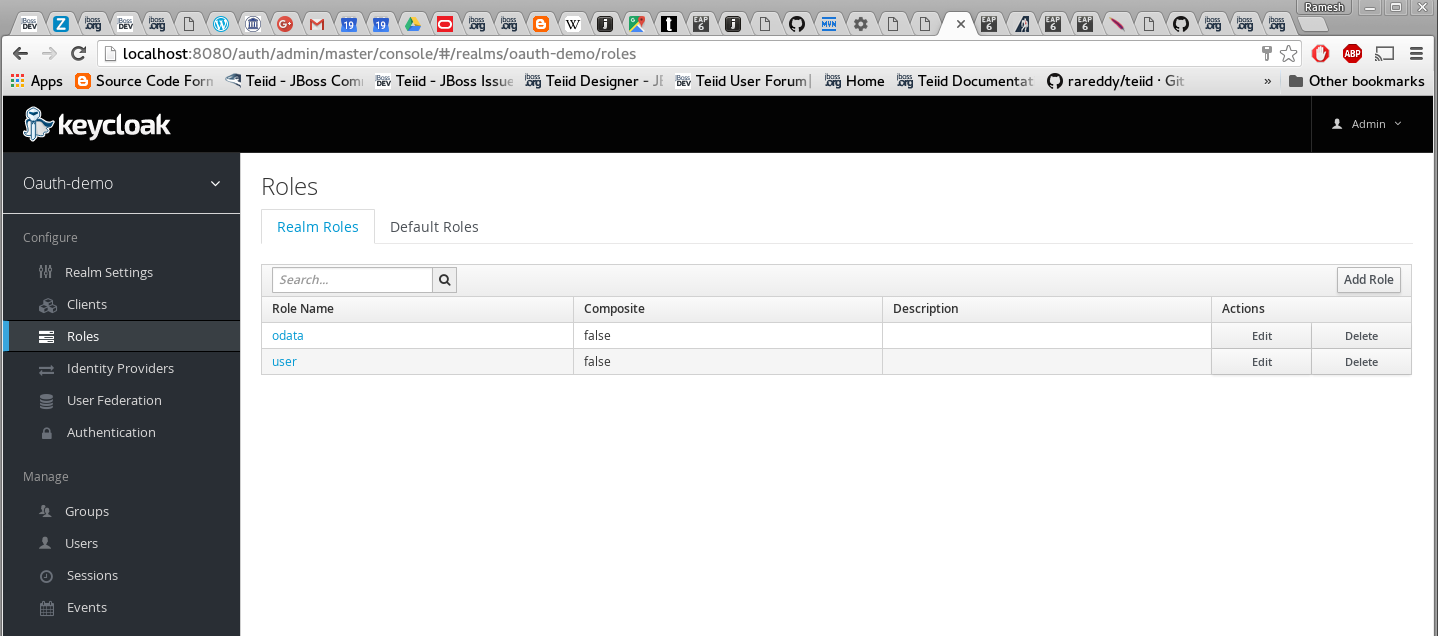
Add two roles "odata" and "user". These are enterprise roles, that will be used by the web services to grant the access to user. Also these roles are used as "scopes" in the OAuth protocol.
-
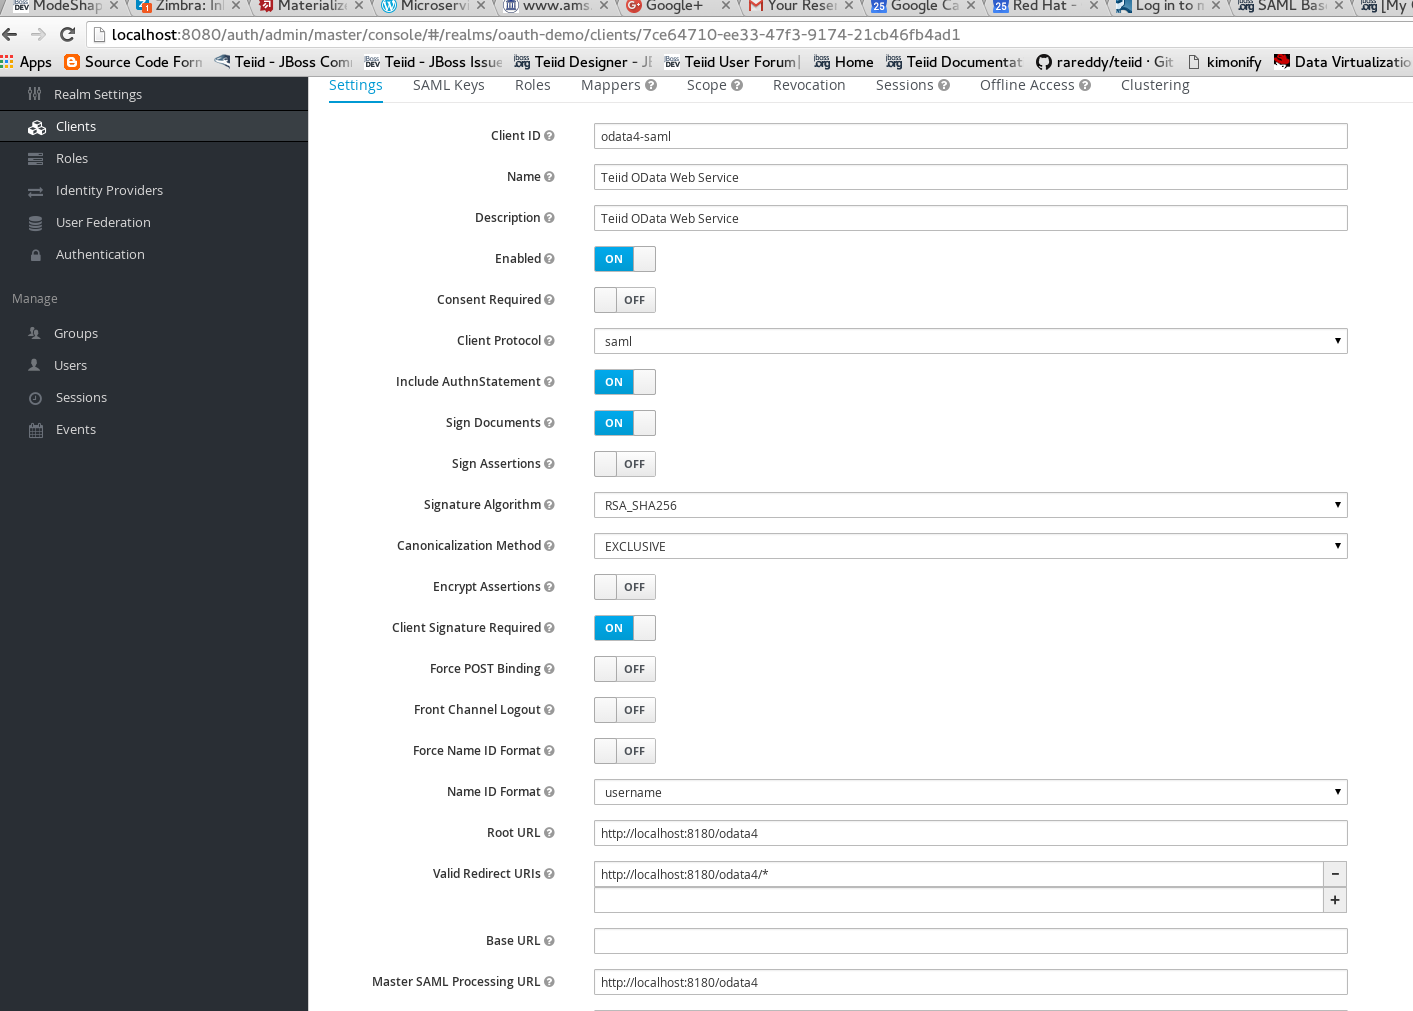
Add a new client called "odata4-saml", this client represents the Teiid’s SAML client that we are going to create
-
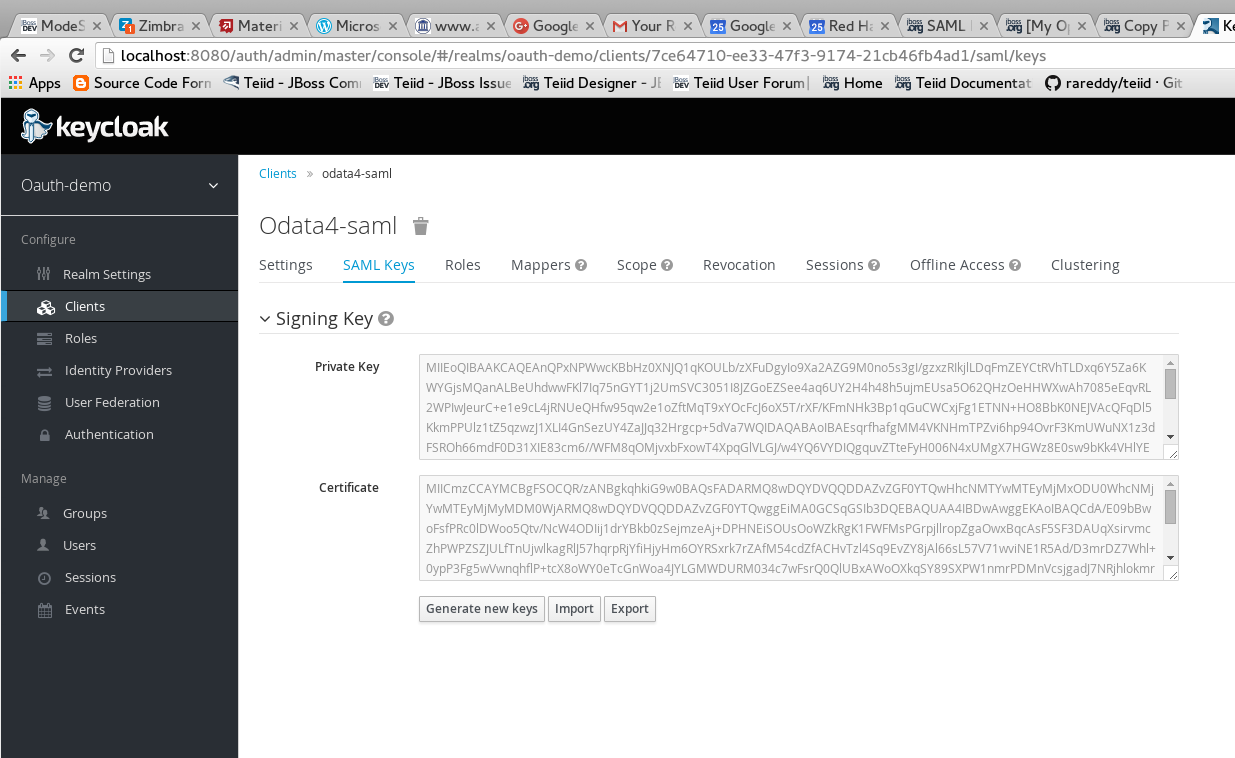
Click on SAML Keys, either import your certificate or generate a new one. Then click export, and keep the exported certificate for later use.
Install and configure Teiid server
-
Download and install Teiid server
-
Download Keycloak SAML adapter for EAP, and unzip over the Teiid server installation.
Run the following to add Keycloak specific modules to the server
Now, start the Teiid Server and using the jboss-cli.sh file run the following to install the KeyCloak confiuration into the Teiid Server.
./bin/jboss-cli.sh --file=adapter-install-saml.cliIn security-domains add following login module using the following CLI
subsystem=security/security-domain=saml-security/authentication=classic/login-module=RealmDirect:write-attribute(name=flag, value=sufficient)
/subsystem=security/security-domain=saml-security/authentication=classic/login-module=keycloak:add(code=org.keycloak.adapters.jboss.KeycloakLoginModule, flag=sufficient)
reload
the above commands will result in XML in standalone.xml or domain.xml file like similar to:
    <security-domain name="saml-security">
        <authentication>
            <login-module code="org.keycloak.adapters.jboss.KeycloakLoginModule" flag="sufficient"/>
            <login-module code="RealmDirect" flag="sufficient">
               <module-option name="password-stacking" value="useFirstPass"/>
            </login-module>
        </authentication>
    </security-domain>
This finishes all the server side changes that are required to make SAML authentication using Keycloak.
OData Application WAR
In order to use SAML authentication, the OData WAR needs to be updated to make use of the OAuth based security domain. By default Teiid installation comes with OData web service WAR file configured with "HTTP Basic" authentication. This WAR needs to either replaced or updated.
Build the new OData WAR file that supports SAML.
-
To build SAML based OData WAR file, Teiid provides a template maven project, either download or clone the project from https://github.com/teiid/teiid-web-security
-
The above link provides templates for creating two WAR files, one WAR file is to create Teiid’s OData service with OAuth, the next is for SAML. Choose the SAML one.
-
Replace the "teiid-web-security/teiid-odata-saml-keycloak/src/main/webapp/WEB-INF/keyclock.json" file contents with "installation" script in "keycloak.json" format from Keycloak admin console’s "odata4-saml" client application.
-
Similarly replace the "teiid-web-security/teiid-odata-saml-keycloak/src/main/webapp/WEB-INF/keystore.jks" file with the exported keystore from earlier steps.
-
build the "keycloak-saml.xml" file, and add all the sections of "metadata" specific to your service. This is where service knows where IDP located and which service this represents etc.
The build the WAR files running the maven command
mvn clean package
|
Note
|
You may have to update Teiid and Keycloak versions in the pom.xml file |
The above command will generate a new WAR file for deployment. Follow the below directions to deploy this new WAR file to the server
Community Teiid Server on Wildfly
Replace the <wildfly>/modules/system/layers/dv/org/jboss/teiid/main/deployments/teiid-olingo-odata4.war" file with new WAR file, by executing a command similar to
cp teiid-web-security/teiid-odata-saml-keycloak/target/teiid-odata-saml-keycloak-{version}.war <wildfly>/modules/system/layers/dv/org/jboss/teiid/main/deployments/teiid-olingo-odata4.war
JDV Server
If you are working with JDV 6.3 server or greater, then run the following CLI script, you may have change the below script to adopt to the correct version of the WAR and directory names where the content is located.
undeploy teiid-olingo-odata4.war
deploy teiid-web-security/teiid-odata-saml-keycloak/target/teiid-odata-saml-keycloak-{version}.war
or overlay the new one using CLI script like
deployment-overlay add --name=myOverlay --content=/WEB-INF/web.xml=teiid-web-security/teiid-odata-saml-keycloak/src/main/webapp/WEB-INF/web.xml,/WEB-INF/jboss-web.xml=teiid-web-security/teiid-odata-saml-keycloak/src/main/webapp/WEB-INF/jboss-web.xml,/META-INF/MANIFEST.MF=teiid-web-security/teiid-odata-saml-keycloak/src/main/webapp/META-INF/MANIFEST.MF,/WEB-INF/keycloak-saml.xml=teiid-web-security/teiid-odata-saml-keycloak/src/main/webapp/WEB-INF/keycloak-saml.xml,/WEB-INF/keycloak.jks=teiid-web-security/teiid-odata-saml-keycloak/src/main/webapp/WEB-INF/keycloak.jks --deployments=teiid-olingo-odata4.war --redeploy-affected
In the VDB, define the security layer for the VDB as "saml-security", for example
<vdb name="samldemo" version="1">
    <property name="security-domain" value="saml-security"/>
    <model visible="true" name="PM1">
        <source name="any" translator-name="loopback"/>
        <metadata type = "DDL"><![CDATA[
            CREATE FOREIGN TABLE G1 (e1 integer PRIMARY KEY, e2 varchar(25), e3 double);
        ]]>
       </metadata>
    </model>
</vdb>
Testing the example using Web Browser
To test any SAML based application you must use a Web browser. Using a browser issue any OData specific query, and you will be redirected to do SAML authentication.
http://localhost:8180/odata4/<vdb>.<version>/<model>/<view>