/extension=org.keycloak.keycloak-saml-adapter-subsystem:add(module=org.keycloak.keycloak-saml-adapter-subsystem)
/extension=org.keycloak.keycloak-adapter-subsystem:add(module=org.keycloak.keycloak-adapter-subsystem)This document will provide detailed instructions to enable OAuth V2 authentication on Teiid’s OData interface using the Keycloak as authentication server (IDP). Please note that use a different IDP server will not work with this implementaion as OAuth implementions are not interoperable. To work with separate IDP than Keycloak consult their documentation, replace the web layer semantics, like the "login-config" in web.xml file etc. Providing the details of other IDP is beyond the scope of this document.
This examples will show case an example, where Teiid’s OData rest interface is secured using OAuth using Keycloak as IDP. The VDB accessed by the OData interface also depends on another web service which is used as a data source, that is also secured with OAuth using the same Keycloak IDP. The central idea behind this example is to pass the same "access-token" used at OData interface layer to passthrough the Teiid layer to bottom data source layer and gain access to the source.
Download and install Keycloak as a separate web server.
-
Login using the default "admin/admin" credentials into the Keycloak "master" realm.
-
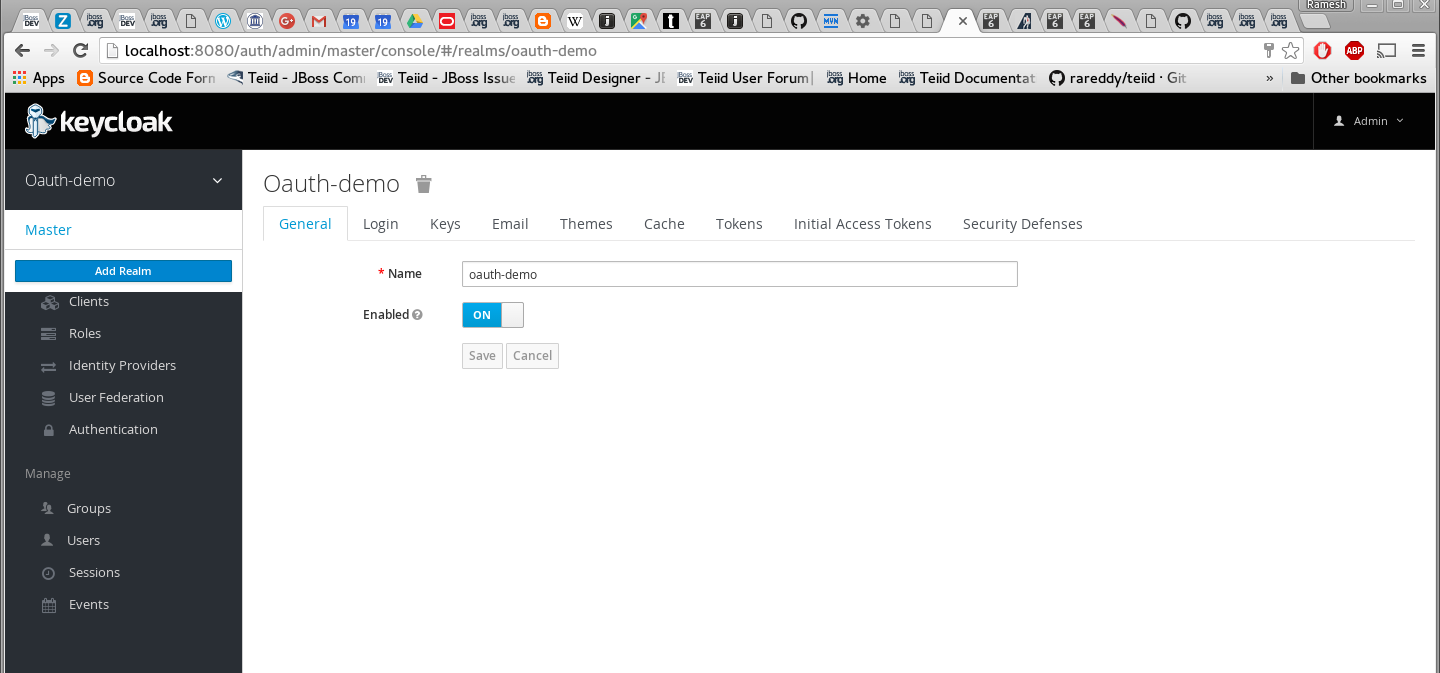
Add a new realm called "oauth-demo"
-
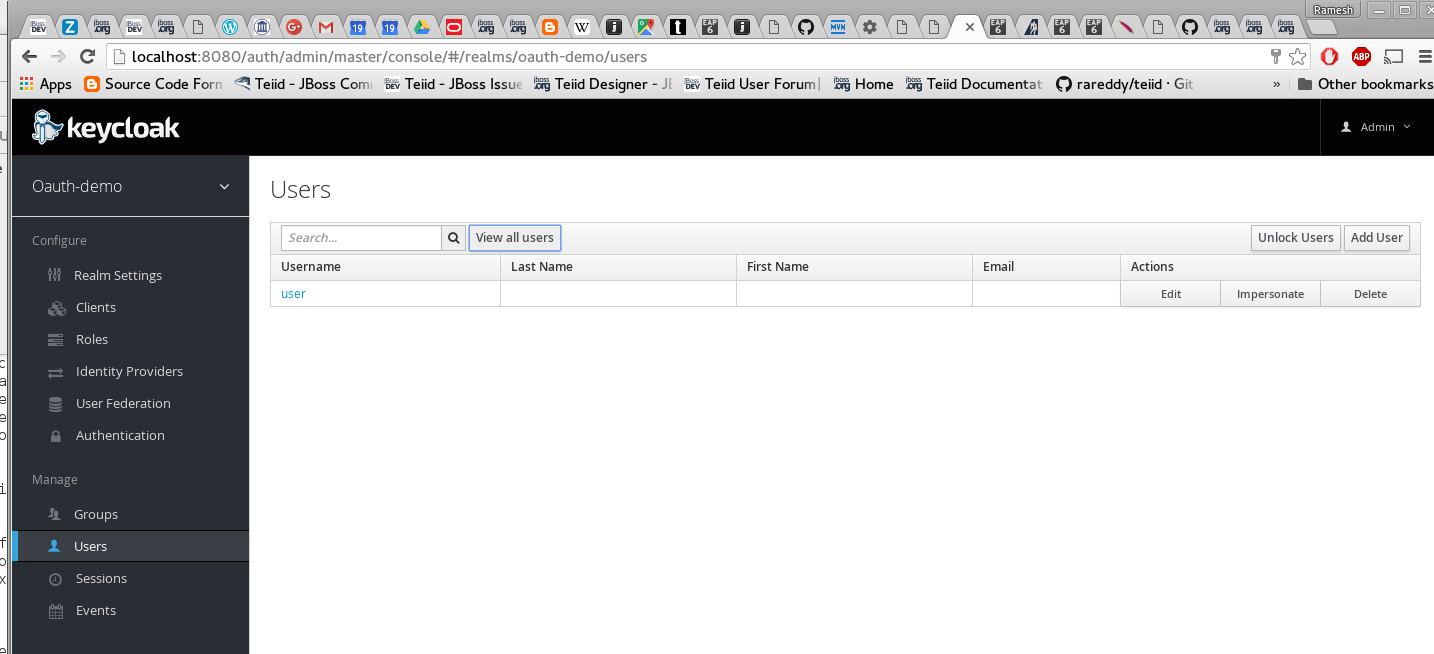
Add a new user called "user" and add credentials.
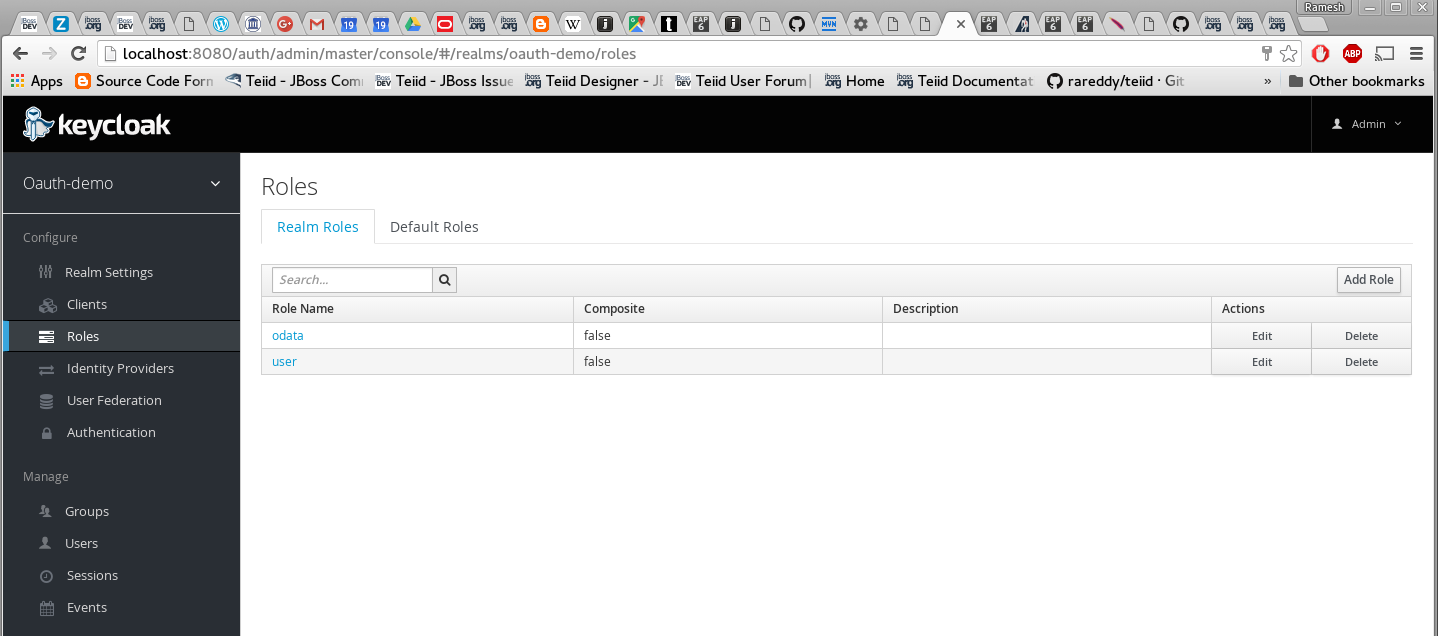
Add two roles "odata" and "user". These are enterprise roles, that will be used by the web services to grant the access to user. Also these roles are used as "scopes" in the OAuth protocol.
-
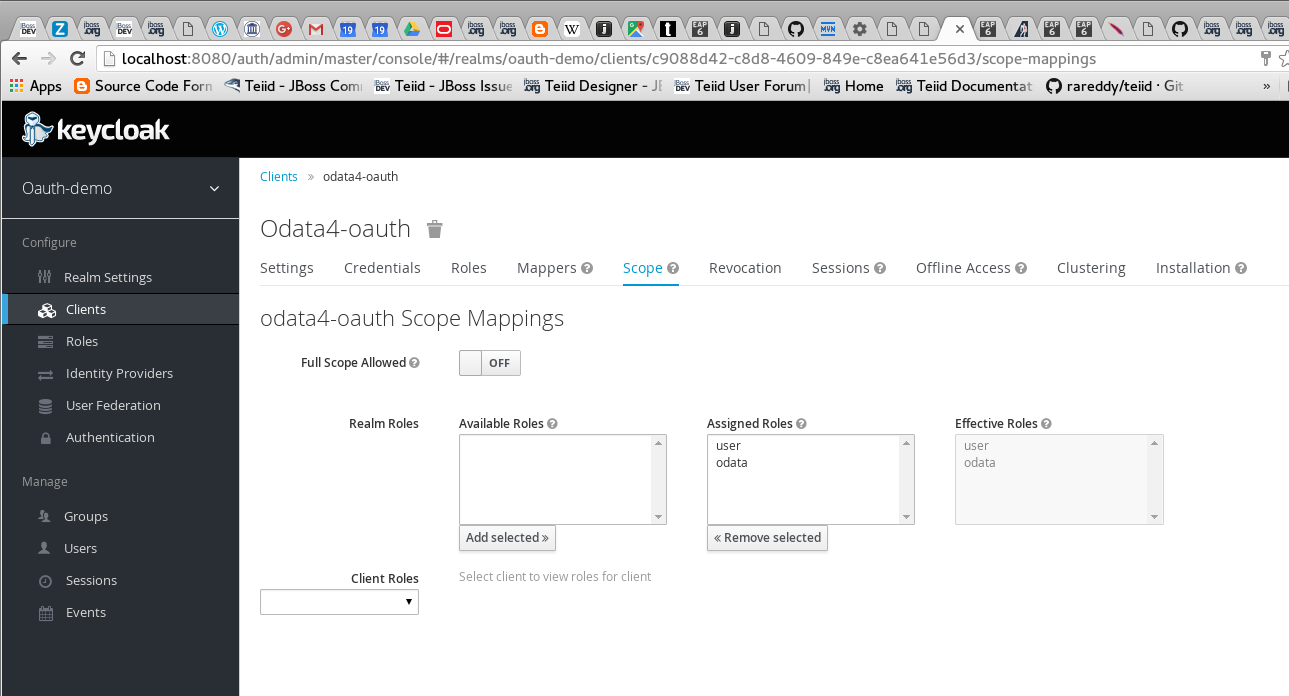
Add a new client called "odata4-oauth", this client represents the Teiid’s OData client that we are going to create

and choose scopes "odata" and "user" for this client. Note that the redirect URI needs to be where the actual service is going to be available.
|
Note
|
The client web-service typically defines what roles that logged in user must have in order for to grant the access. In the Keycloak OAuth implementation, these roles are used as "scopes". Note that the "odata4-oauth" client MUST have ALL the scopes that it is going to delegate the access-token for gaining access to bottom data services. In this example Teiid’s OData web services requires "odata" role, the bottom web-service requires the "user" role. Since the OData accesses the bottom web-service it requires both the roles. |
-
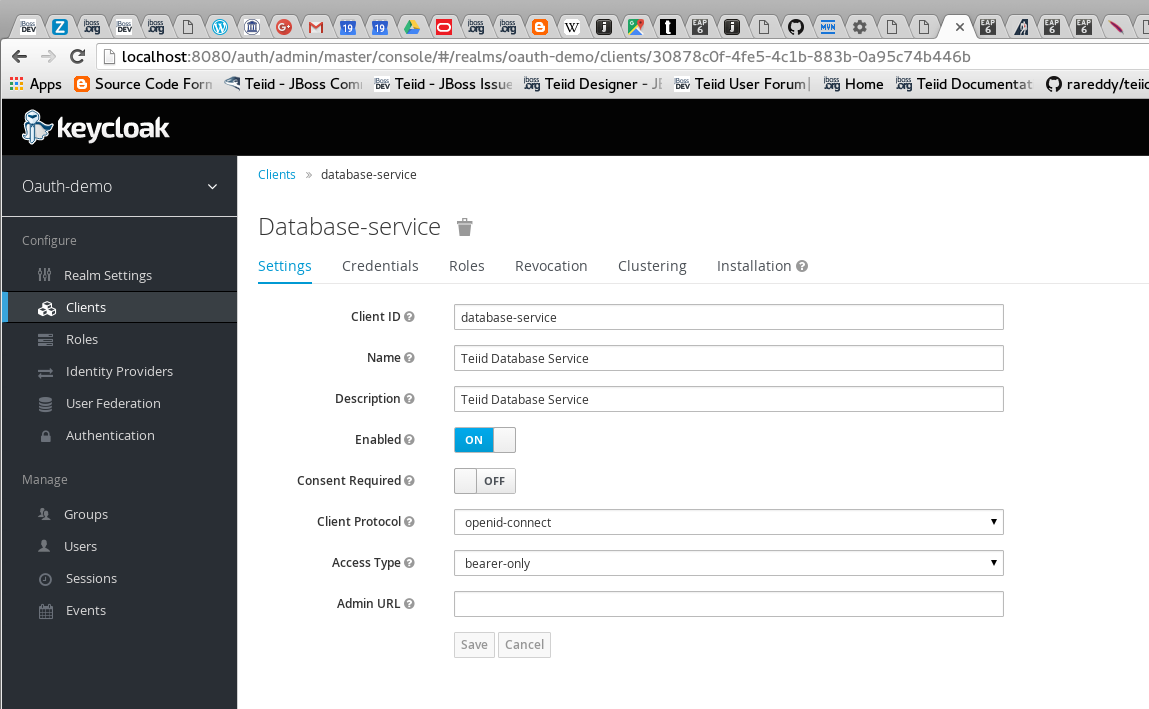
Add another client called "database-service" and choose scope "user". Choose type as "Bearer".
Install and configure Teiid server
-
Download and install Teiid server
-
Download Keycloak adapter for the EAP, and unzip over the Teiid server installation
-
Download Keycloak SAML adapter for EAP, and unzip over the Teiid server installation. (optional but need for another exercise)
-
Edit the standalone-teiid.xml, add the following sections
Run the following CLI to add Keycloak specific modules to the server
above commands will result in XML in standalone.xml or domain.xml file like
    <extension module="org.keycloak.keycloak-saml-adapter-subsystem"/>
    <extension module="org.keycloak.keycloak-adapter-subsystem"/>
Add these two subsystems any where in the file, use the following the CLI script
/subsystem=keycloak:add
/subsystem=keycloak-saml:add
above commands will result in XML in standalone.xml or domain.xml file like
        <subsystem xmlns="urn:jboss:domain:keycloak-saml:1.1"/>
        <subsystem xmlns="urn:jboss:domain:keycloak:1.1"/>
In security-domains add following security domains using the following CLI
/subsystem=security/security-domain=oauth:add(cache-type=default)
/subsystem=security/security-domain=oauth/authentication=classic:add
/subsystem=security/security-domain=oauth/authentication=classic/login-module=oauth:add(code=org.teiid.jboss.PassthroughIdentityLoginModule, flag=required, module=org.jboss.teiid)

/subsystem=security/security-domain=keycloak:add(cache-type=default)
/subsystem=security/security-domain=keycloak/authentication=classic:add
/subsystem=security/security-domain=keycloak/authentication=classic/login-module=keycloak:add(code=org.keycloak.adapters.jboss.KeycloakLoginModule, flag=required)

reload
above commands will result in XML in standalone.xml or domain.xml file like (you can also edit standalone.xml directly)
    <security-domain name="oauth">
        <authentication>
            <login-module code="org.teiid.jboss.PassthroughIdentityLoginModule" flag="required" module="org.jboss.teiid"/>
        </authentication>
    </security-domain>
    <security-domain name="keycloak">
        <authentication>
            <login-module code="org.keycloak.adapters.jboss.KeycloakLoginModule" flag="required"/>
        </authentication>
    </security-domain>
Under Teiid subsystem, change the "security-domain" of the "odata" transport, to
/subsystem=teiid/transport=odata:write-attribute(name=authentication-security-domain, value=oauth)results in XML
    <transport name="odata">
        <authentication security-domain="oauth"/>
    </transport>
This finishes all the server side changes that are required to make OAuth authentication using Keycloak.
OData Application WAR
In order to use OAuth authentication, the OData WAR needs to be updated to make use of the OAuth based security domain. By default Teiid installation comes with OData web service WAR file configured with "HTTP Basic" authentication. This WAR needs to either replaced or updated.
Build the new OData WAR file that supports OAuth.
To build OAuth based OData WAR file, Teiid provides a template maven project, either download or clone the project from https://github.com/teiid/teiid-web-security
The above link provides templates for creating two WAR files, one WAR file is to create Teiid’s OData service with OAuth, the next is a sample "database-service" for this demo. Please note that "database-service" is to mimic the database service, that will be different in a real use-case, however the steps defined for the access will be same.
Replace the "teiid-web-security/teiid-odata-oauth-keycloak/src/main/webapp/WEB-INF/keyclock.json" file contents with "installation" script in "keycloak.json" format from Keycloak admin console’s "odata4-client" client application.
Similarly replace the "teiid-web-security/examples/database-service/src/main/webapp/WEB-INF/keyclock.json" file contents with "installation" script in "keycloak.json" format from Keycloak admin console’s "database-client" client application.
to build the WAR files running the maven command
mvn clean packageThe above command will generate a new WAR file for deployment. Follow the below directions to deploy this new WAR file.
Teiid Server on WildFly
Replace the <wildfly>/modules/system/layers/dv/org/jboss/teiid/main/deployments/teiid-olingo-odata4.war" file with new WAR file, by executing a command similar to
{code} cp teiid-web-security/odata-oauth-keycloak/target/teiid-odata-oauth-keycloak-{version}.war <wildfly>/modules/system/layers/dv/org/jboss/teiid/main/deployments/teiid-olingo-odata4.war {code}
JDV Server
If you are working with JDV 6.3 server or greater, then run the following CLI script, you may have change the below script to adopt to the correct version of the WAR and directory names where the content is located.
undeploy teiid-olingo-odata4.war
deploy teiid-web-security/odata-oauth-keycloak/target/teiid-odata-oauth-keycloak-{version}.war
or overlay the new one using CLI script like
deployment-overlay add --name=myOverlay --content=/WEB-INF/web.xml=teiid-web-security/odata-oauth-keycloak/src/main/webapp/WEB-INF/web.xml,/WEB-INF/jboss-web.xml=teiid-web-security/odata-oauth-keycloak/src/main/webapp/WEB-INF/jboss-web.xml,/META-INF/MANIFEST.MF=teiid-web-security/odata-oauth-keycloak/src/main/webapp/META-INF/MANIFEST.MF,/WEB-INF/keycloak.json=teiid-web-security/odata-oauth-keycloak/src/main/webapp/WEB-INF/keycloak.json /WEB-INF/lib/teiid-odata-oauth-keycloak-{version}.jar=teiid-web-security/odata-oauth-keycloak/src/main/webapp/WEB-INF/lib/teiid-odata-oauth-keycloak-{version}.jar --deployments=teiid-olingo-odata4.war --redeploy-affected
Working with example VDB
Edit the standalone-teiid.xml and under resource-adapters subsystem, add the following to add access to a database-service from the Teiid query engine.
    <resource-adapter id="database">
        <module slot="main" id="org.jboss.teiid.resource-adapter.webservice"/>
        <transaction-support>NoTransaction</transaction-support>
        <connection-definitions>
            <connection-definition class-name="org.teiid.resource.adapter.ws.WSManagedConnectionFactory"
                                jndi-name="java:/database" enabled="true" use-java-context="true"
                                pool-name="teiid-database-ds">
                <config-property name="SecurityType">
                    OAuth
                </config-property>
                <config-property name="EndPoint">
                    http://localhost:8180/database/
                </config-property>
                <security>
                    <security-domain>oauth</security-domain>
                </security>
            </connection-definition>
        </connection-definitions>
    </resource-adapter>
Add a VDB with following contents (oauthdemo-vdb.xml)
<vdb name="oauthdemo" version="1">
    <model visible="true" name="PM1">
        <source name="array" translator-name="loopback"/>
        <metadata type = "DDL"><![CDATA[
            CREATE FOREIGN TABLE G1 (e1 integer PRIMARY KEY, e2 varchar(25), e3 double);
        ]]>
       </metadata>
    </model>

    <model name="view" type="VIRTUAL">
        <metadata type = "DDL"><![CDATA[
            create view message (msgto string primary key, msgfrom string, heading string, body string)
            as
                SELECT A.msgto, A.msgfrom, A.heading, A.body
                FROM
                  (EXEC restsvc.invokeHttp(action=>'GET', endpoint=>'sample', stream=>'TRUE')) AS f,
                  XMLTABLE('/note' PASSING XMLPARSE(DOCUMENT f.result) COLUMNS
                    msgto string PATH 'to',
                    msgfrom string PATH 'from',
                    heading string PATH 'heading',
                    body string PATH 'body') AS A;
        ]]>
       </metadata>
    </model>

    <model name="restsvc" type="PHYSICAL" visible="true">
        <property name="importer.importWSDL" value="false"/>
        <source name="restsvc" translator-name="ws" connection-jndi-name="java:/database"/>
    </model>
</vdb>
Start both Keycloak and Teiid Servers. If both of these servers are in the same machine, then we need to offset the ports of Teiid server such that they will not conflict with that of the Keycloak server. For this example, I started the Teiid server as
./standalone.sh -c standalone-teiid.xml -Djboss.socket.binding.port-offset=100
where all ports are offset by 100. So the management port is 10090 and default JDBC port will be 31100. The Keycloak server is started on default ports.
Testing the example
There are two different mechanisms for testing this example. One is purely for testing the using the browser, then other is programatically. Typically using the browser is NOT correct for accessing the Teiid’s OData service, but it is shown below for testing purposes.
Using the Web Browser
Using the browser issue a query (the use of browser is needed because, this process does few redirects only browsers can automatically follow)
http://localhost:8180/odata4/kerberos/auth
then you should see a message like "Congratulations!!! Login successful..". What this process is doing is negotiating a "access-token" from the Keycloak authentication server and places this in the client’s web-session, such that subsequent calls to the service use this token for access.
Now to fetch the data from the "database-service" using the negotiated "access-token" issue a query
http://localhost:8180/odata4/oauthdemo/view/messageIf all the configuration is setup correctly, then you will see the response like below.
<?xml version='1.0' encoding='UTF-8'?>
<a:feed xmlns:a="http://www.w3.org/2005/Atom" xmlns:m="http://docs.oasis-open.org/odata/ns/metadata"
    xmlns:d="http://docs.oasis-open.org/odata/ns/data" m:context="$metadata#mesage">
    <a:id>http://localhost:8180/odata4/saml.1/RestViewModel/mesage</a:id>
    <a:entry>
        <a:id>mesage('Tove')</a:id>
        <a:title />
        <a:summary />
        <a:updated>2016-01-18T20:10:48Z</a:updated>
        <a:author>
            <a:name />
        </a:author>
        <a:link rel="edit" href="mesage('Tove')" />
        <a:category scheme="http://docs.oasis-open.org/odata/ns/scheme"
            term="#saml.1.RestViewModel.mesage" />
        <a:content type="application/xml">
            <m:properties>
                <d:msgto>Tove</d:msgto>
                <d:msgfrom>Jani</d:msgfrom>
                <d:heading>Reminder</d:heading>
                <d:body>Don't forget me this weekend!</d:body>
            </m:properties>
        </a:content>
    </a:entry>
</a:feed>|
Warning
|
When above method is used to capture access token, it is possible that the access token gets expired after its lifespan, in that situation a new access token needs to be negotiated. |
Calling programatically
This process of calling does not need to involve a web-browser, this is typical of scenario where another web-application or mobile application is calling the Teiid’s OData web-service to retrieve the data. However in this process, the process of negotiating the "access-token" is externalized and is defined by the IDP, which in this case is Keycloak.
For demonstration purposes we can use CURL to negotiate this token as shown below (client_secret can found the Keycloak admin console under client credentials tab)
curl -v POST http://localhost:8080/auth/realms/oauth-demo/protocol/openid-connect/token -H "Content-Type: application/x-www-form-urlencoded" -d 'username=user' -d 'password=user' -d 'grant_type=password' -d 'client_id=odata4-oauth' -d 'client_secret=36fdc2b9-d2d3-48df-8eea-99c0e729f525'this should return a JSON payload similar to
{  "access_token":"eyJhbGciOiJSUzI1NiJ9.eyJqdGkiOiI0YjI4NDMzYS1..",
   "expires_in":300,
   "refresh_expires_in":1800,
   "refresh_token":"eyJhbGciOiJSUzI1NiJ9.eyJqdGkiOiJmY2JmNjY2ZC0xNzIwLTQwODQtOTBiMi0wMjg4ODdhNDkyZWYiLCJl..",
   "token_type":"bearer",
   "id_token":"eyJhbGciOiJSUzI1NiJ9.eyJqdGkiOiIwZjYyNDQ1MS1iNTE0LTQ5YjUtODZlNy1jNTI5MDU2OTI3ZDIiLCJleH..",
   "not-before-policy":0,
   "session-state":"6c8884e8-c5aa-4f7a-a3fe-9a7f6c32658c"
}
from the above you can take the "access_token" and issue the query to fetch results like
curl -k -H "Authorization: Bearer eyJhbGciOiJSUzI1NiJ9.eyJqdGkiOiI0YjI4NDMzYS1.." http://localhost:8180/odata4/oauthdemo/view/messageYou should see same XML response as above. Please note that to programatically achieve the access_token in your own program (not using curl) you can see some suggestions in this document [http://keycloak.github.io/docs/userguide/keycloak-server/html/direct-access-grants.html]